
Fresh herbs are amazing in the kitchen, but they don’t last long once they hit your fridge. They wilt fast, and before you know it, they’re headed for the trash. The good news is you don’t need any fancy tools or long waiting times to save them.
Your microwave can do the job in just minutes. It’s quick, simple, and keeps all that fresh flavor locked in. No need to babysit trays for days or guess when things are dry enough.
With just a plate, some paper towels, and a microwave, you can keep your herbs ready for your next recipe. Say goodbye to waste and hello to your own little stash of home-dried flavor 🌿👌✨
Why Dehydrate Herbs?
Drying herbs is one of the most practical ways to preserve a harvest or make sure store-bought herbs don’t go to waste. Fresh herbs often come in larger quantities than needed, especially when purchased in bunches or picked from a garden mid-season. Once harvested, herbs begin to wilt quickly and lose their natural oils and aroma within a few days if not used.
By drying herbs, you can extend their usability for months. When stored properly in airtight containers, dried herbs can last up to a year while still providing flavor to your cooking. Drying also concentrates the herb’s essential oils, which means that even a small amount can be quite potent when used later.
From a cost perspective, drying herbs at home is far more economical than buying dried herbs at the store. One example showed that a small packet of fresh coriandercostst around $1.35 in a supermarket, yet offered barely enough for a single meal. In contrast, a larger bunch purchased from a local market for about $1.10 yielded multiple layers of leaves that could be dried and stored for long-term use.
Dehydrating herbs at home is especially useful for people who don’t grow herbs year-round or who only find certain herbs seasonally. It also helps reduce food waste by making sure nothing spoils in the fridge before you have a chance to use it.
Suitable Herbs for Microwave Dehydration
Many of the most common culinary herbs respond well to microwave drying. The technique works best for leafy herbs and soft stems, but is also effective for woody herbs with thicker leaves. What matters most is how the herbs are prepared and the microwave time you apply.
Soft herbs like basil, mint, parsley, cilantro, and tarragon should be microwaved with care since they dry faster and are more sensitive to heat. For instance, cilantro was successfully dried using an initial 40-second setting followed by additional 20-second bursts. Tarragon also dried efficiently, and its natural oils and aroma were preserved well using this method.
Sturdier herbs such as rosemary, oregano, thyme, and sage can tolerate slightly longer drying times. One example of oregano showed a drying time of around two and a half minutes total using 30-second intervals. These herbs often contain more natural moisture and require a bit more patience, but the microwave still handles them much faster than traditional drying methods.
Chives are a special case. Because of their structure and higher moisture content, they should be chopped into fine pieces before drying. Their flower stems, or thick parts,s should be removed as these tend to be woody and slow to dry. Once sliced, chives can be microwaved similarly to other herbs, but usually take less time. After drying, they shrink slightly and become brittle, making them easy to store.
When handled carefully, almost any kitchen herb can be effectively dehydrated in a microwave with results that retain much of the original color and aroma.
Preparation Before Dehydrating
How you prepare your herbs has a direct impact on how well they dry and how much flavor they retain. The first step is to rinse them under cool water to remove dirt, insects, or debris. This step is important even if the herbs come from a garden or a trusted vendor. After rinsing, gently pat them dry with a clean towel or paper towels. Moisture left on the surface of the leaves can create steam in the microwave, which leads to uneven drying or even overcooking in some areas.
Once the herbs are clean and surface-dried, sort through them and remove any damaged or wilted leaves. Only the freshest leaves should be dried. For herbs with stems, like oregano or tarragon, you should pull the leaves off the stem by pinching and sliding downward. Woody stems tend to hold more water and are harder to crumble later, so it’s better to leave them out of the drying process.
Chives require a bit more preparation. Because they have a tubular shape and higher water content, they dry more evenly when sliced thinly. Thicker stems or flowering pieces should be discarded. Slicing chives into small sections also helps them shrink evenly during microwaving and prevents clumping.
This preparation process takes only a few minutes but ensures that drying in the microwave is quick, even, and effective.
Equipment and Materials Needed
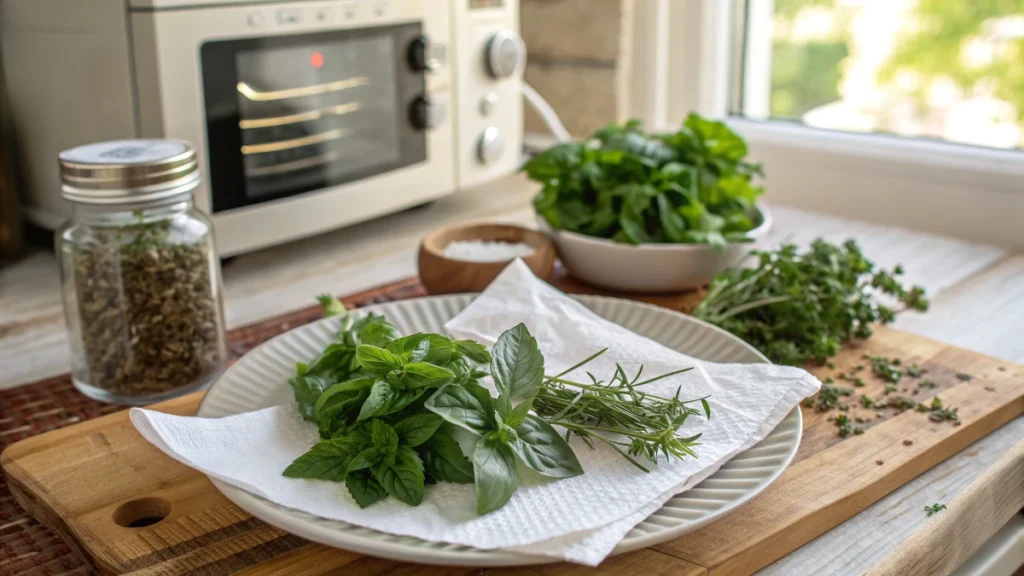
Drying herbs in the microwave does not require any fancy equipment. The basic tools are already found in most kitchens. A standard microwave with a power output of around 1000 watts is typically enough. You do not need a specialized dehydrator or convection setting. Just a basic microwave will do the job.
You’ll need a large microwave-safe plate. The size of the plate is important because it allows you to lay the herbs out in a single layer. This prevents overlapping, which can trap moisture and lead to uneven drying. The plate should be made of ceramic or glass and not contain any metallic parts or trim.
Paper towels are essential. Use plain white, unscented paper towels without dyes or patterns. These go underneath and on top of the herbs. The bottom towel absorbs moisture released during the drying process, while the top towel helps keep the herbs in place and ensures they don’t blow around inside the microwave due to air circulation.
Once the herbs are dried, you’ll need containers for storage. Glass jars with tight-fitting lids are best because they prevent moisture from getting in and don’t react with the oils in the herbs. Label each jar with the herb name and date so you can keep track of freshness. A simple piece of masking tape or painter’s tape with handwritten notes will work fine.
If you are concerned about any residual moisture, you can place a small silica packet inside the jar. These are often found in packaged goods like vitamins. Wrap the packet in cheesecloth and secure it inside the lid, not in direct contact with the herbs. This extra step helps keep the herbs dry and extends their shelf life.
With just these basic tools, you can begin drying herbs quickly and efficiently in your microwave.
Step-by-Step Instructions
Drying herbs in a microwave is simple once you understand the timing and technique. The key is to work in small batches and monitor closely during each step.
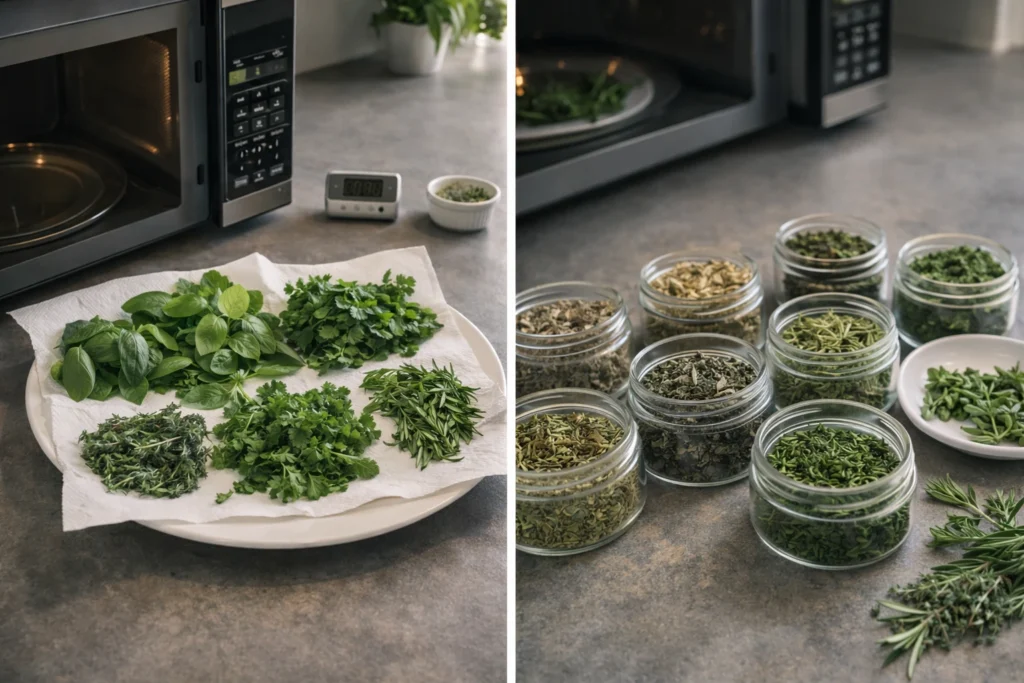
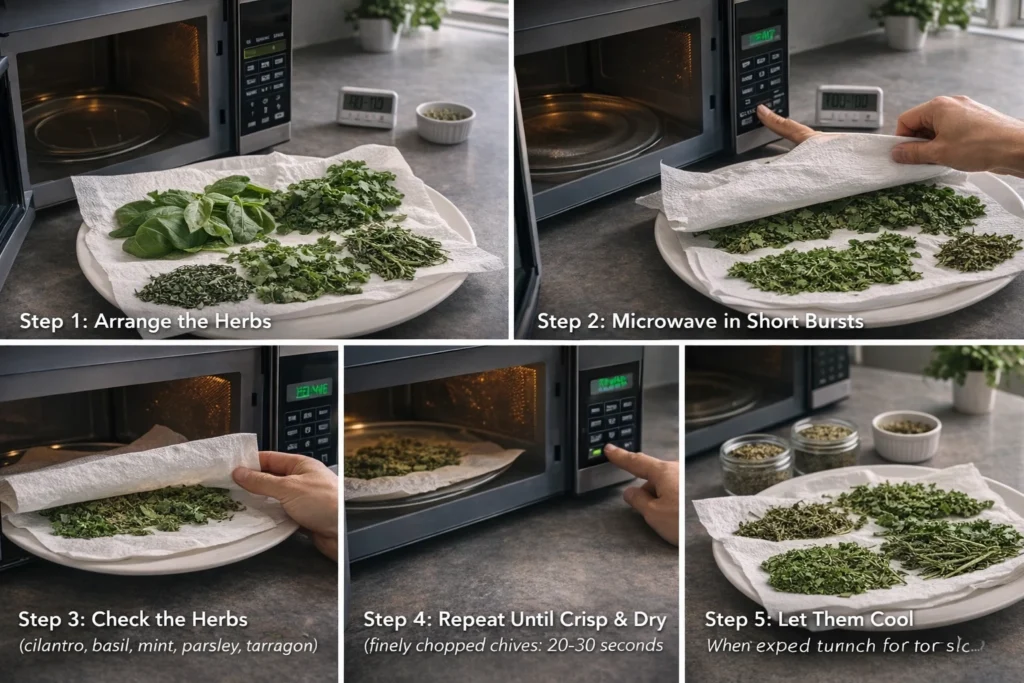
Start by arranging the herbs on a large microwave-safe plate. First, place a clean paper towel directly on the plate. Then spread the herbs in a single layer so that no leaves overlap. Overlapping prevents moisture from escaping evenly and can result in some parts burning while others remain damp. Once arranged, cover the herbs with a second sheet of paper towel. This helps keep the herbs in place and absorbs moisture that rises during microwaving.
If you’re drying delicate herbs like cilantro or mint, begin with 30 to 40 seconds on high power. After the first round, check the herbs. They should begin to wilt,t and the paper towel may start to feel slightly damp. If needed, microwave for an additional 20 seconds at a time, checking after each burst. Continue until the leaves crumble easily between your fingers.
Heavier or woodier herbs, bs such as oregano or sage, may need longer. In one example, oregano required about two and a half minutes total, broken up into several 30-second bursts. Always allow a few seconds between bursts to let steam escape and to avoid overheating.
Chives, which contain more moisture due to their structure, should be chopped very finely before microwaving. Once cut, they dry much faster, sometimes in just a minute or less, especially if spread evenly and sliced thin.
Regardless of the herb, replace the paper towels if they become too wet. Wet paper prevents drying and can cause steaming, which reduces flavor retention and may cause uneven results.
When finished, let the herbs sit for a few minutes to cool. They should feel crisp, brittle, and dry all the way through. This is a sign they’re ready for storage.
Safety Tips and Common Mistakes
While the microwave method is quick, it does require close attention. Herbs can go from drying to burning in a matter of seconds if left unattended.
One of the most common mistakes is microwaving herbs for too long in a single burst. Even sturdy herbs should be microwaved in short intervals, generally 30 seconds or less at a time, especially if it’s your first time drying that type of herb. If the microwave is left running without breaks, the herbs may scorch or even catch fire.
Using overlapping or thick layers is another frequent issue. Piling herbs on top of each other may seem efficient, but it prevents proper airflow and traps moisture. This not only slows down the drying process but can also cause herbs to cook unevenly or develop an off taste.
It’s also important to keep an eye on the paper towels. Once they become damp, they need to be replaced. Continuing to microwave with wet paper towels introduces steam, which can soften herbs rather than drying them. This compromises both texture and flavor.
For herbs with needle-like structures, such as rosemary, it’s wise to be cautious. Their shape can sometimes spark under high heat if over-dried or if microwaved in large quantities. If you’re drying rosemary or similar herbs, use smaller batches and start with shorter time settings.
Never walk away while herbs are in the microwave. It only takes a few seconds of overheating for herbs to burn. Always monitor through the door and stop the microwave immediately if you notice any smoke or a change in smell.
Post-Drying: Storing Your Herbs
Once herbs are dried and cooled completely, they’re ready to be stored. Proper storage is essential for maintaining flavor, aroma, and shelf life.
First, remove any remaining stems or woody bits. For leafy herbs, gently crumble the leaves with your hands or by rubbing them between sheets of paper towel. This helps break them down into a more usable texture and makes them easier to fit into jars. You don’t need to powder them unless you prefer a finer consistency.
Use clean, completely dry glass jars or airtight containers. Mason jars, repurposed spice jars, or metal tins with tight lids all work well. Make sure there’s no moisture inside the container before adding the herbs. Even a small amount of moisture can lead to mold over time.
Label each container with the name of the herb and the date it was dried. This helps avoid confusion, especially if you dry multiple herbs that look similar once crumbled. One creative tip is to use painter’s tape or masking tape to write directly on the jar lid or side.
If you’re unsure whether the herbs are fully dry, you can add a moisture absorber to be safe. Small silica gel packets, often found in new shoe boxes or vitamin bottles, can be wrapped in cheesecloth and placed inside the lid. These packets absorb any leftover moisture and prevent mold from forming.
Dried herbs should be stored in a cool, dark place like a pantry or cupboard. When stored this way, they can retain their flavor and quality for up to twelve months.
Microwave Drying vs Other Methods
There are several ways to dry herbs,s including air drying, oven drying, and using a dehydrator. Each has its benefits, but microwave drying stands out for its speed and accessibility.
Air drying is the most traditional method. It requires no special tools and works well in dry climates. However, it takes time, usually five to ten days,s depending on humidity and herb type. Air drying also leaves herbs exposed to light and air, which can degrade their color and flavor.
Dehydrators are highly effective and allow for drying large batches at once. They operate at low, controlled temperatures that preserve oils and prevent burning. However, dehydrators can be expensive and take up kitchen space. Not everyone has one readily available.
Oven drying is quicker than air drying but still requires hours of low heat. It can be hard to maintain a consistent low temperature in a standard oven,n which may result in uneven drying or flavor loss. There’s also the risk of overcooking delicate herbs if not watched closely.
Microwave drying is by far the fastest method. Most herbs are fully dry within one to three minutes, depending on the type and quantity. It also retains a brighter color and stronger aroma when done correctly. One direct comparison between microwave-dried oregano and store-bought oregano showed that the home-dried version had a noticeably greener color and a fresher smell.
Because most households already have a microwave and the process only requires paper towels and a plate, this method is accessible and practical. It’s ideal for people who want to preserve herbs in small batches without investing in additional equipment or waiting days for them to dry.