
Growing basil microgreens at home is like adding a burst of garden-fresh flavor to your life without the mess, stress, or waiting. These little greens grow fast, taste bold, and bring that sweet, peppery basil kick to your meals in just two weeks.
No soil bags piling up, no complicated setup. Just a simple tray, a bit of care, and you’re snipping your own fresh greens right from the counter. They’re tender, aromatic, and make everything from sandwiches to pasta feel like something special.
It’s the kind of small habit that turns into a daily reward 🌿🍃✨
Understanding Basil Microgreens
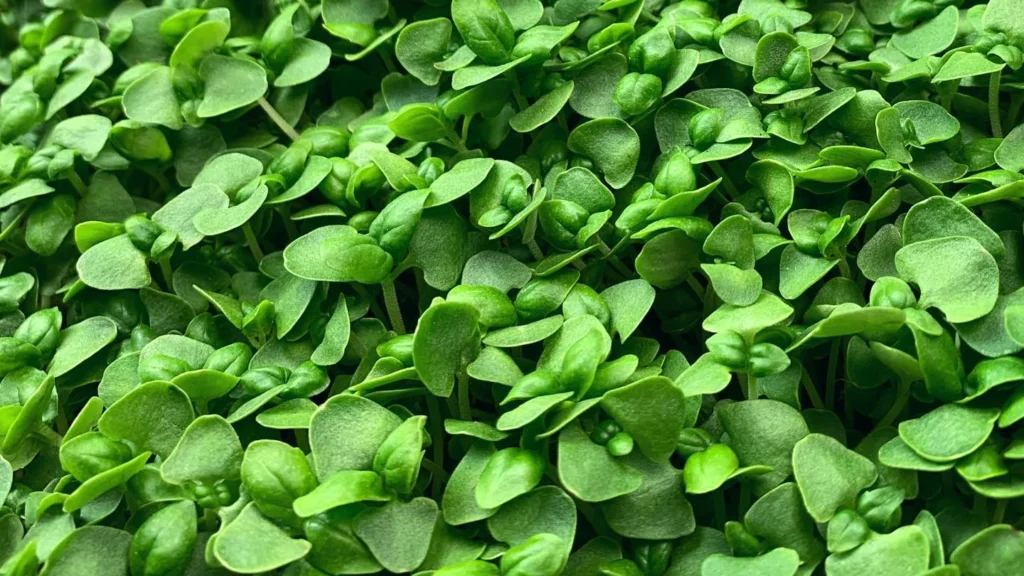
Basil microgreens are the young seedlings of the basil plant harvested shortly after the cotyledons, or seed leaves, have developed. In some cases, the first true leaves may begin to show at the time of harvest. These are not the same as sprouts. While sprouts are consumed with roots and grown in water, microgreens are grown in soil or a growing medium and are cut above the root line.
The primary difference between basil microgreens and mature basil is in the size and intensity of flavor. Microgreens pack the same essential oils and compounds that give basil its distinct aroma, but in a smaller and more tender form. Their texture is soft, their flavor is vibrant, and they require no chopping, which makes them incredibly convenient to use fresh.
There are several types of basil suitable for microgreen production. Genovese basil is widely used due to its traditional flavor and reliable growth. Purple basil, on the other hand, adds a bold color element and often develops a deep violet hue in cooler seasons. Other varieties like lemon basil or Thai basil offer more adventurous flavor notes but may require specific care and climate conditions to grow well.
A unique characteristic of basil seeds is that they are mucilaginous. When exposed to water, they form a gel-like coating. This feature helps the seeds stay in place on the soil and provides natural moisture retention. However, it also presents a challenge. If the seeds are sown too closely, the gel can cause clumping and lead to uneven germination or root misdirection.
Materials and Equipment
To grow basil microgreens successfully, you will need a few basic tools and materials. Start with two trays. One should have drainage holes that will hold the growing medium and seeds. The second tray, without holes, sits underneath to catch excess water and support bottom watering.
For the growing medium, a common and effective choice is organic coco coir mixed with perlite. This blend retains moisture well and encourages healthy root development while preventing compaction. Some growers prefer to use fine mesh screens as a growing base. These allow for soil-free growing, which can simplify cleanup and reduce the chance of mold.
Light is essential for growing healthy basil microgreens. While a sunny windowsill may work, grow lights provide more reliable and consistent exposure. Basil thrives under full-spectrum light for about 12 to 16 hours a day once germination is complete.
A humidity dome is useful during the first week to retain moisture and warmth. This helps the seeds germinate evenly. A spray bottle is also helpful in the early stages, as basil seeds are sensitive to heavy watering. Later on, gentle top watering or watering around the edges of the tray becomes more effective. You’ll also need a sharp knife or clean scissors for harvesting. Some growers also use a kitchen scale to track yield from each tray.
🌿 Recommended Microgreens Supplies |
Step-by-Step Growing Instructions
Preparing the tray
Start by filling the tray with about one inch of your chosen growing medium. Use your hand or a flat tool to level the surface. The goal is to create a smooth, even layer of soil so that all seeds make good contact and germinate evenly.
Sowing the seeds
Evenly sprinkle the basil seeds across the surface of the soil. Because the seeds are small and form a gel when wet, spacing matters. Avoid crowding them too close together to reduce the risk of clumping or mold. Do not cover the seeds with soil. Basil microgreens germinate best when left exposed on top of the growing medium.
Watering and covering
Mist the seeds gently using a spray bottle. This activates the gel coating and starts the germination process. Once the seeds are moist, cover the tray with a humidity dome. Unlike other microgreens, basil does not require a blackout period or weights. The dome alone is enough to maintain the proper temperature and humidity during the germination phase.
Post-germination care
After about 7 days, the seeds should have sprouted,d and small green leaves will appear. At this point, remove the humidity dome to allow airflow. Move the tray to a location with bright light, such as a sunny window or under grow lights. Water the tray from the top daily, focusing on the four corners to keep the soil hydrated without waterlogging the center. This method helps prevent fungal issues and encourages even growth.
Harvesting and Post-Harvest Handling
Basil microgreens are typically ready for harvest between 12 and 16 days after planting. The best time to harvest is when the first set of true leaves is just beginning to appear. At this stage, the microgreens are packed with flavor and nutrients.
To harvest, use a clean, sharp knife or a pair of scissors to cut the microgreens just above the soil level. If the tray was grown on a screen, the process is even cleaner. It is best to harvest in the morning or when the plants are dry, as wet leaves are more prone to bruising and spoilage.
If you are growing in soil and prefer to rinse the microgreens after harvest, gently swish them in a bowl of clean water and lay them out to dry completely on a towel before storing. Unwashed greens can be stored directly in a sealed container in the refrigerator and typically last up to a week if kept dry.
A standard 10 by 20-inch tray yields around 4 to 6.5 ounces of basil microgreens, though this can vary slightly depending on the variety, seed density, and growing conditions. While this may not seem like much, the flavor intensity means you only need a small amount to make a big impact.
Advanced Tips
There are a few tricks that can make a noticeable difference in both yield and quality. For example, watering from the four corners of the tray rather than pouring water over the top can help maintain airflow through the canopy and prevent mold. Since basil microgreens form a dense cover as they grow, the center of the tray is more prone to trapping moisture.
Another tip is to avoid over-seeding. Because basil seeds form a gel when wet, they can easily clump together if placed too closely. This may cause the roots to grow sideways or upward, creating uneven development. If you notice seeds that have stuck to the side of the tray or are not growing properly, covering them with a small pinch of soil can help redirect the roots downward.
Growers who want a longer shelf life sometimes dehydrate their microgreens. After harvesting, dry the greens completely and place them in a dehydrator. Once fully dried, they can be stored for months and used as seasoning or in soups and sauces.
Using reusable screens instead of soil can also make the process cleaner and more sustainable. These screens can be used for many growing cycles if properly cleaned with a soft nylon brush after each use. While soil-grown basil may yield slightly more, screen-grown basil often results in cleaner harvests and fewer issues with mold.
Troubleshooting and Common Mistakes
Growing basil microgreens isn’t difficult, but there are a few common issues that can interfere with a healthy crop if not addressed early. One of the most frequent problems is overcrowding the seeds. Because basil seeds are mucilaginous, they develop a gel coat when exposed to moisture. If too many are sown too close together, they tend to clump, which can prevent proper root development and increase the risk of fungal growth.
Another issue is poor air circulation, especially once the greens start forming a thick canopy. Without proper airflow, the center of the tray can retain too much moisture, creating an environment where mold can develop. This is why it’s important to water around the perimeter of the tray after the first week and not directly over the top of the greens.
Uneven watering can also cause trouble. Dry patches can slow or stop germination in those areas, while overly saturated zones can lead to rot or stunted growth. Using a spray bottle during the initial days and switching to gentle top watering or bottom watering after germination helps keep the balance right.
A more subtle but frustrating mistake is using a growing medium with large debris, such as bark chips or unrefined compost. Basil seeds are small, and any obstacle on the surface can interfere with their ability to root evenly. It’s best to use a fine-textured mix like coco coir blended with perlite for drainage.
Temperature also plays a role. If basil is grown in cooler conditions, especially below 70°F, germination can take longer, er and growth will slow. In warmer temperatures above 75°F, germination speeds up, but the color of purple basil may appear more faded. Adjusting your expectations based on season and room temperature can help prevent disappointment.
Yield Economics and Market Potential
Basil microgreens not only taste great but also carry significant value if grown for small-scale sale or farmers’ markets. On average, a 10-by-20-inch tray produces between 4 and 6.5 ounces of basil microgreens. This may vary depending on the seed density, soil quality, and environmental conditions.
Seed cost for basil is slightly higher thanthat of more common microgreens like radish or sunflower. A typical sowing might use 10 to 12 grams of seed per tray, which can cost between $2 to $4 depending on the supplier. Despite the higher seed cost, basil microgreens often sell at a premium price. Retail prices can range from $3 to $5 per ounce, especially for organically grown or purple basil varieties.
What makes basil especially valuable in the market is its culinary appeal. Chefs and home cooks alike are willing to pay for its intense flavor and visual presentation. Purple basil in particular stands out in mixed microgreen packs due to its rich color, adding not just taste but also aesthetic value.
Additionally, basil microgreens require minimal space and have a relatively short turnaround time of about two weeks. For urban gardeners or small commercial growers, this makes basil an attractive crop to rotate alongside faster-growing greens like mustard or arugula.
Health Benefits of Basil Microgreens
Basil microgreens offer more than just flavor. They’re packed with nutrients and beneficial plant compounds, making them a powerful addition to any diet. Despite their size, they are densely loaded with essential vitamins and minerals.
One of the standout nutrients is Vitamin K, which supports blood clotting and bone health. Basil microgreens also contain Vitamin A, known for promoting vision and immune function, and Vitamin C, which plays a role in collagen production and antioxidant protection. In addition, they provide iron and calcium, both crucial for energy metabolism and skeletal strength.
Another reason to include basil microgreens in your meals is their high content of polyphenols and flavonoids, including compounds like eugenol, which is known for its anti-inflammatory and antimicrobial effects. These compounds may help reduce inflammation and protect cells from oxidative stress, which contributes to aging and chronic disease.
Basil is also known as a carminative herb, meaning it helps with digestion by reducing gas and bloating. The microgreen version retains this benefit, especially when consumed raw in small amounts as a garnish or in salads.
Because basil microgreens are low in calories but high in flavor, they’re ideal for people looking to enhance meals without adding extra fats or sugars. This makes them a favorite in both plant-based and low-calorie diets.
Recipe Ideas Using Basil Microgreens
There’s no shortage of delicious ways to use basil microgreens in the kitchen. Their tender texture and bold flavor make them incredibly versatile, and they can be used in both raw and cooked dishes.
Fresh Use
Caprese Salad
Replace or complement traditional basil leaves with microgreens. Layer fresh mozzarella, tomato slices, and a handful of basil microgreens. Drizzle with olive oil and balsamic reduction for a refreshing twist on a classic.
Avocado Toast
Top toast with mashed avocado, a squeeze of lemon, and a generous pinch of basil microgreens. Add chili flakes or sea salt for extra flavor.
Strawberry Basil Infused Water
Add a few sliced strawberries and a small bunch of basil microgreens to a pitcher of water. Let it sit for a few hours in the fridge for a naturally sweet and herbal drink.
Microgreen Pesto
Substitute micro basil for mature leaves in a traditional pesto recipe. Blend with garlic, pine nuts, olive oil, and Parmesan. The result is a milder, brighter pesto perfect for pasta, sandwiches, or as a dip.
Pizza and Pasta Garnish
Add basil microgreens to a finished pizza or pasta dish just before serving. They wilt slightly from the heat, releasing their aroma without losing their fresh flavor.
Cooked or Preserved Use
Tomato Basil Soup
Add a small handful of micro basil at the very end of cooking for a vibrant finish. They can also be dehydrated and ground into a seasoning blend.
Herb Butter or Oil
Mix chopped basil microgreens into softened butter or blend into olive oil for a spreadable or pourable herb infusion.
Infused Vinegars
Combine basil microgreens with white wine or apple cider vinegar and let them steep for a few days. This creates a flavorful base for dressings and marinades.
Storage Tips
After harvest, basil microgreens should be stored dry in a sealed container in the refrigerator. They typically last for up to 7 days. If you want to preserve them longer, dehydration is an option. Once fully dried, store them in an airtight jar and use them as a seasoning.