
Fresh, flavorful greens packed with nutrients can be yours in just a couple of weeks, all without leaving your kitchen. Growing microgreens at home is simple, fun, and perfect for adding a burst of color and taste to any meal.
You do not need a big garden or fancy equipment to get started. With just a few easy steps and some basic supplies, you will be harvesting vibrant, crunchy microgreens that elevate salads, sandwiches, and smoothies to a whole new level.
It is a rewarding way to bring a bit of green into your daily routine and boost your health naturally. Let us get those tiny greens growing! 🌱✨🍽️
Understanding Microgreens
Microgreens are not a separate class of plants. They are simply normal vegetable, herb, or grain seeds harvested early, typically between 7 and 14 days after germination. They are more mature than sprouts but younger than baby greens. Some of the most common microgreens include broccoli, radish, mustard, kale, arugula, basil, sunflower, and pea shoots.
A USDA study found that some microgreens contain up to 40 times more nutrients than their mature counterparts, making them an efficient source of vitamins and antioxidants.
Why Grow Microgreens at Home?
Growing microgreens at home offers many benefits beyond just fresh, tasty greens. Here’s why so many people choose this hobby:
Nutrient Density in a Small Package
Microgreens have become popular because of their extraordinary nutritional value. Because you are harvesting plants at such an early stage, the nutrients are highly concentrated. This means you can get a significant boost of vitamins such as C, E, and K, along with minerals like potassium and zinc, from just a small handful. Adding microgreens to your diet is an easy way to increase your daily intake of antioxidants and other health-boosting compounds without consuming large portions.
Fast Growth Cycle
One of the biggest draws to microgreens is their quick turnaround time. You can sow seeds and have harvestable greens in as little as one to three weeks. This fast cycle means you can continuously grow new batches and enjoy fresh greens all year long. For people who crave fresh vegetables but have limited time or space, microgreens are a perfect solution.
Perfect for Small Spaces
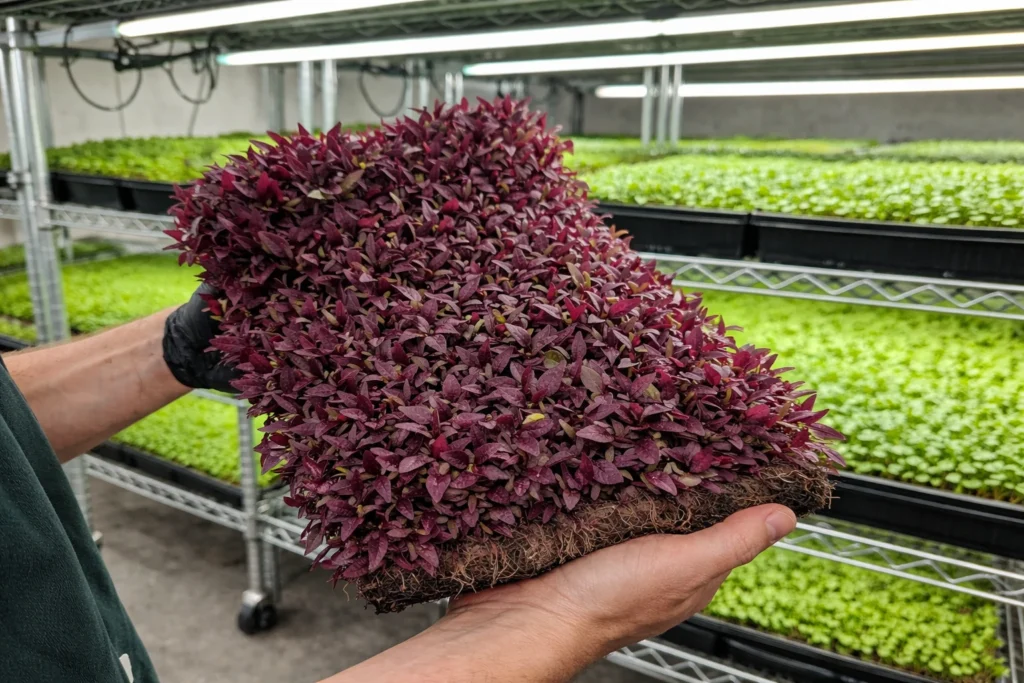
You do not need a garden or yard to grow microgreens. They thrive on a sunny windowsill, kitchen countertop, or under an indoor grow light. Because they require only shallow trays and minimal soil depth, even the smallest apartment can support a mini indoor farm. This makes microgreens highly accessible for urban gardeners and anyone with limited outdoor space.
Cost Savings and Freshness
Store-bought microgreens are often pricey and have a limited shelf life. By growing your own, you not only save money but also ensure maximum freshness. The difference in taste and quality between homegrown and store-bought microgreens is substantial, making your meals more enjoyable and nutritious.
Year-Round Growing
Since microgreens grow indoors and under controlled conditions, you can keep a steady supply even during winter or in climates where outdoor gardening is challenging. This opens up the possibility of year-round fresh greens regardless of the season.
Required Materials
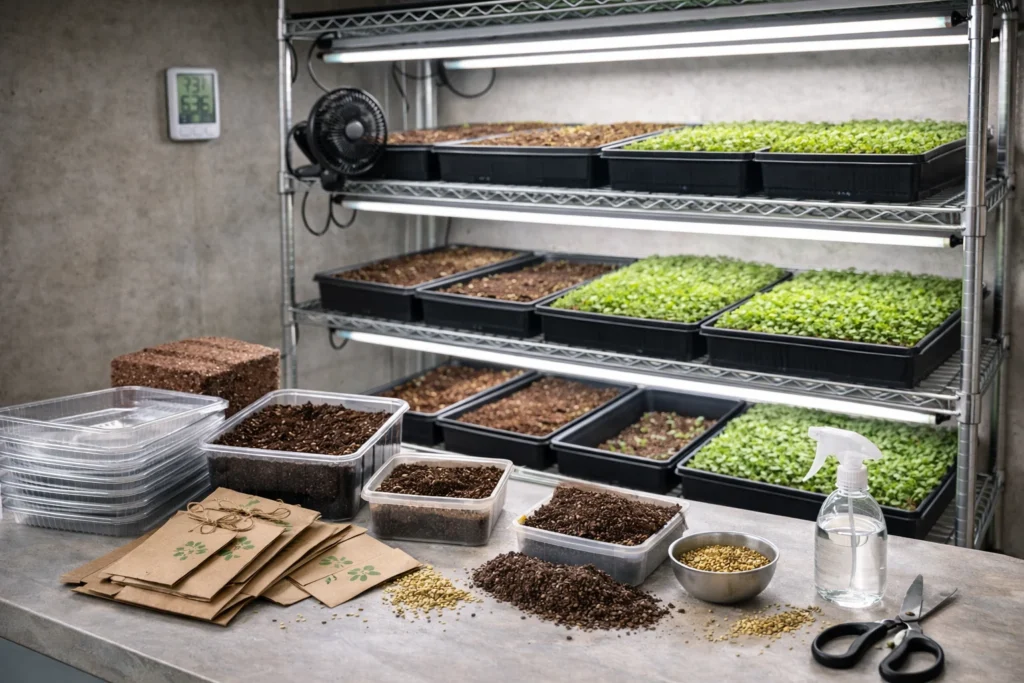
You don’t need a garden, or even a balcony, to start growing microgreens. Here is a list of essential materials:
Seeds: Choose seeds from reputable suppliers like True Leaf Market or Everwilde Farms. Good beginner options include radish, peas, salad mixes, and sunflowers.
Growing Medium: Use fine-textured potting soil or coconut coir. Avoid soils with large chunks or bark.
Trays: Use two trays per setup: one with drainage holes (top tray) and one without (bottom tray) for bottom watering.
Spray Bottle: Needed for gentle misting during germination.
Lighting: LED grow lights or a bright, south-facing window. Grow lights give more control over growth rate and consistency.
Weight: A second tray or brick to apply pressure for better germination.
Cutting Tools: Clean, sharp scissors or micro-tip pruners for harvesting.
Step-by-Step Growing Process
1. Prepare Your Soil
Start by moistening your soil or coconut coir until it’s evenly damp but not soggy. Fill the top tray about three-quarters full. Leave about a quarter to half an inch of space from the top to avoid soil spillage.
Lightly press the surface using another tray to create a smooth, even surface. This step is essential for uniform seed contact and consistent growth.
2. Sow the Seeds
Sprinkle your seeds evenly across the surface of the soil. Small seeds like mustard, broccoli, and salad mixes should be spread densely but evenly, with no clumps. Use your fingers or a sieve for more precise control.
For larger seeds lisunflowerswer, peas, and nasturtiums, soak them before planting to speed up germination:
Seed Type Soak Time
Sunflowers 4 hours
Peas 6-12 hours
Wheatgrass 8-12 hours
Nasturtiums 8 hours
Soak in clean, cool water and avoid over-soaking, which can cause seeds to rot. Once seeds are sown, lightly mist with water to help them settle and stick to the soil.
3. Blackout and Weight Period
Place another tray on top of the seeded tray and apply some weight (brick, book, or another tray filled with water). This simulates soil pressure, helping roots establish themselves and promoting strong stems.
Keep the trays in the dark for 2 to 4 days, depending on the seed variety. During this time, check daily to ensure moisture is consistent. Mist if needed, but avoid overwatering.
4. Lighting and Growth
Once the seeds have sprouted and are about 1 to 2 inches tall, remove the blackout cover and expose them to light. Use an LED grow light positioned just a few inches above the canopy or place the tray in a well-lit window.
Maintain a lighting schedule of 12 to 16 hours of light per day. Rotate trays daily to prevent the microgreens from leaning toward the light source.
Bottom watering begins now. Pour water into the bottom tray and let the upper tray absorb it. This prevents mold and keeps foliage dry.
5. Monitoring Growth
Growth will accelerate once light is introduced. You’ll notice rapid greening and elongation. Pay attention to:
Moisture: Water when trays feel light.
Mold: Improve air circulation with a small fan if mold appears.
Hull Removal: Brush off sunflower seed hulls gently.
Microgreens do not require fertilization during their short growing period. Their nutrient needs are minimal, and the seed contains enough stored energy to grow them to harvest.
Harvesting
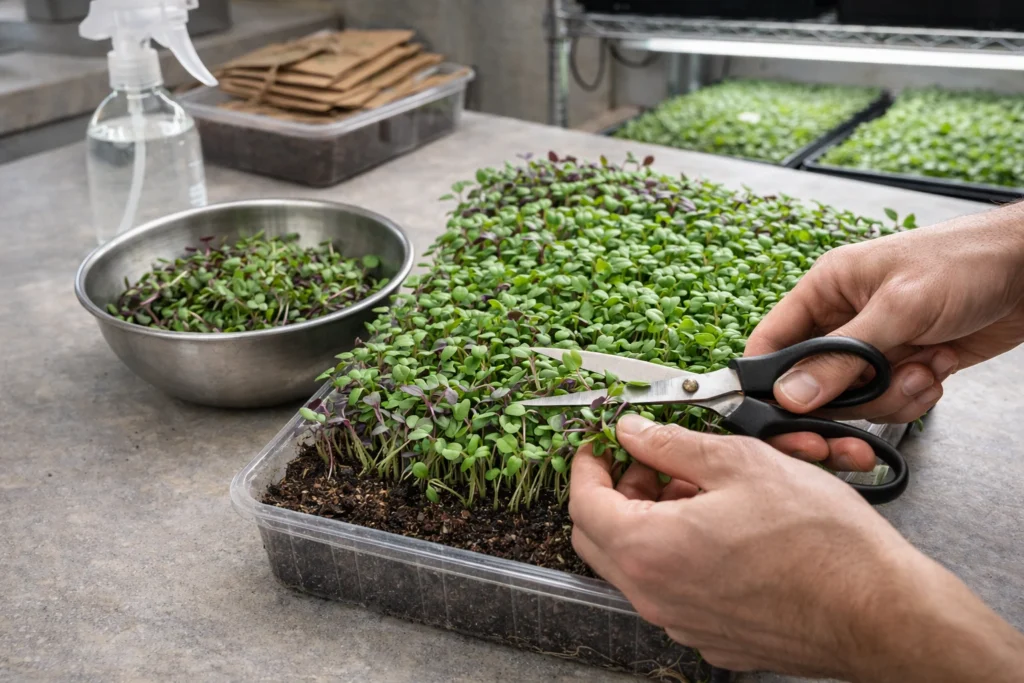
Microgreens are typically harvested between days 7 and 14, depending on the variety. You’ll know they’re ready when the first true leaves (the second pair after the initial seed leaves) appear.
Use sharp, clean scissors or pruners to cut the greens just above the soil line. Avoid cutting into the soil to minimize contamination. Harvest over a clean surface or directly into a storage container.
Wheatgrass and some other grasses can regrow after harvest if cut properly, offering 2 to 3 harvests per tray.
Storage
Freshly harvested microgreens should be used immediately for the best flavor and nutrition. If you need to store them:
Use mesh crisper bags for hardier greens like peas.
Use Ziploc or airtight containers with a dry paper towel for delicate greens.
Store in your refrigerator’s crisper drawer in a high-humidity environment.
Avoid washing until right before use.
Consume within 3 to 5 days for optimal freshness.
Can you Freeze Microgreens??
Freezing microgreens is not recommended if your goal is to maintain their texture, color, and nutritional value. While it’s technically possible to freeze them, here’s a deep dive into why it’s usually a bad idea — and what you can do instead:
❄️ Why You Shouldn’t Freeze Microgreens
- Delicate Structure Gets Damaged
Microgreens are tender, water-rich plants. Freezing causes ice crystals to form inside their cells, which ruptures the cell walls. Once thawed, microgreens often become limp, soggy, and lose their crispness. - Nutrient Loss
Freezing can degrade some of the water-soluble nutrients like vitamin C and B-complex vitamins, which are part of what makes microgreens such nutritional powerhouses. - Flavor and Aroma Degradation
Frozen and thawed microgreens often lose their fresh, vibrant taste and aroma, making them much less appealing in raw dishes like salads or sandwiches.
Using Microgreens
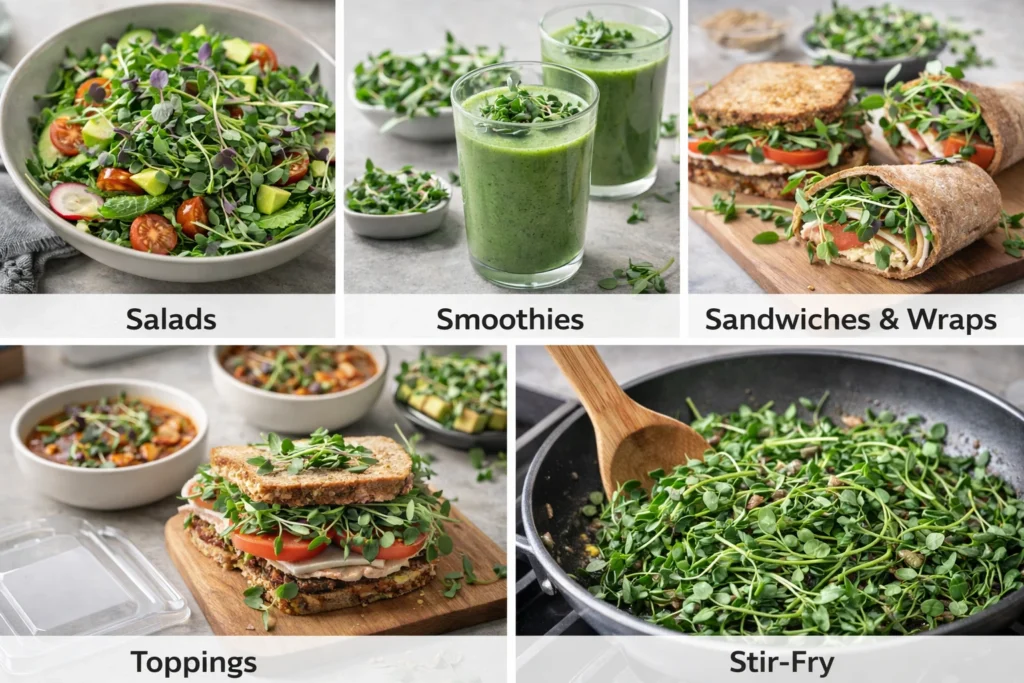
Microgreens are highly versatile. Use them in:
Salads: Add texture and intense flavor.
Smoothies: Blend wheatgrass or kale microgreens.
Sandwiches and Wraps: A crunchy, nutrient-rich addition.
Toppings: Soups, pizzas, avocado toast.
Stir-fries: Pea shoots and sunflower greens work well.
Suggests sauteing pea shoots with garlic and soy sauce for a quick, flavorful dish.
Advanced Tips and Common Issues
Mold Management
Avoid top watering once germination starts.
Use a fan for air circulation.
Spot treat with grapefruit seed extract.
Ensure the cleanliness of trays and tools before use.
Light Management
Keep lights close to the plants to avoid legginess.
Rotate trays daily to ensure even growth.
Do not overheat with lights too close; LEDs are preferable.
Common Mistakes
Here are a few common mistakes to avoid for a better Harvest
Overwatering: Leads to mold and root rot.
Uneven seeding: Causes patchy growth.
Using poor soil: Chunky or low-quality soils hinder root development.
Letting plants grow too long: They become leggy, bitter, or fall over.
Sustainability and Cost
Growing microgreens is one of the most sustainable gardening activities. A single pound of salad seed mix, costing around $8, can yield about 16 trays. For an average household, that can easily last a month.
Trays and growing materials are reusable. Compost spent soil and roots to enrich your garden soil or add to a worm bin.
No synthetic fertilizers or pesticides are required. And if grown cleanly, there’s minimal need for washing, reducing water use.
🌿 Recommended Microgreens Supplies |
Final Thoughts
Growing microgreens at home is efficient, affordable, and deeply rewarding. In under two weeks, you can enjoy fresh, nutrient-packed greens regardless of your space or climate. With just a few trays and some basic materials, you can harvest continuous cycles of your favorite greens while experimenting with new varieties.
It is a learning process, and success improves with observation and consistency. Whether you’re supplementing your diet, exploring a hobby, or even considering a small-scale microgreen business, this guide offers the technical details and practical insights you need to get started and thrive.
FAQs
Q 1: Do microgreens regrow after harvesting?
Most microgreens do not regrow after harvesting because you cut them above the soil line, removing the growing point. However, some varieties like wheatgrass and pea shoots can regrow once or twice if cut properly. To encourage regrowth, avoid cutting too close to the soil and keep watering the tray as you did during initial growth.
Q 2: How do I prevent mold when growing microgreens indoors?
Mold can be prevented by using good airflow (such as a small fan), watering from the bottom, avoiding overcrowding seeds, and keeping trays clean. Make sure your grow area isn’t too humid, and avoid overwatering. If mold appears, spot-treat with grapefruit seed extract and improve ventilation.
Q 3: What’s the best light source for microgreens?
LED grow lights are the most reliable light source because they provide consistent intensity and spectrum regardless of the season or weather. If you don’t have grow lights, a sunny, south-facing window can work, but you may see leggier growth due to inconsistent light. Keep lights close to the plants (2–4 inches above) and on for 12–16 hours a day.