
Growing microgreens in a jar is one of the easiest ways to enjoy fresh, nutrient-rich greens at home. With only a wide-mouth jar, a mesh lid, and a spoonful of seeds, you can harvest crisp shoots in just a few days. Store-bought sprouts or microgreens often cost three to four dollars for a small container, while a homemade jar crop costs only pennies.
Popular choices such as broccoli, radish, and alfalfa deliver concentrated vitamins, antioxidants, and even compounds like sulforaphane that research links to health benefits.
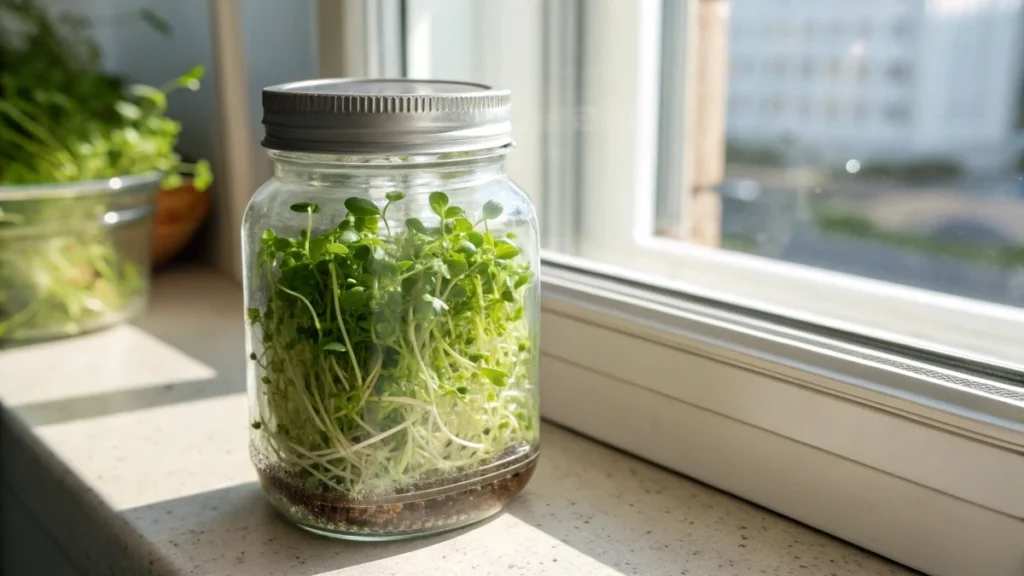
This method fits on any windowsill, requires little space, and works year-round, even in winter. A DIY microgreens jar offers affordable, sustainable, and delicious homegrown food most simply.
What you need
- Wide-mouth mason jar (4–8 oz works great; pint is fine if you want a bigger batch).
- Taut screen over the jar mouth
- Fiberglass window screen cut ~½” larger than the opening so it tightens well under the ring (keeps it from sagging).
- Screw ring (plastic or metal). Tip: metal rings rust fast with daily moisture; you can make rust-free rings by cutting the center out of a plastic mason-jar lid and inserting mesh.
- Seeds for microgreens (e.g., broccoli, radish, cabbage, mustard, fenugreek; tiny seeds are easiest on screen).
- Water (clean or purified).
- (Optional, hydroponic boost) Nutrient solution mixed weakly: e.g., 1 tsp per gallon (used successfully in the hydro jar setup).
- Fine mister/spray bottle, and a loose cap or cover to sit on top for day 1.
🌿 Recommended Microgreens Supplies |
Set up
- Fit the screen: Center the screen over the jar; press the ring straight down before twisting so the screen is drum-tight.
- Fill the jar:
- Water-only method: Fill until the screen is fully wet and just touching moisture.
- Hydro method (recommended for microgreens): Pour nutrient solution to ~¼ inch below the screen. After filling, rub a finger across the screen so the whole surface is evenly moist—this keeps seeds from rolling.
Sow (1 minute)
- Seed the screen: Sprinkle a thin, single layer of seed across the screen. As a starting point, ~¼ teaspoon gave good coverage on the jar mouth (adjust for your screen size and seed size). Aim for no clumps.
Germinate (Day 0–1)
- Mist & cover lightly: Give a gentle mist, set a loose cap/lid on top (not airtight).
- Mist twice on day 1: Morning and evening. You’re just keeping the seed coats moist until roots (“tails”) poke through.
From the hydro jar demo: tiny roots usually thread through the screen and reach the solution in about ~24 hours (sometimes a bit longer). Once that happens, stop misting—the roots will drink from below.
Root & grow (Day 2–5+)
- Light: Move to bright, indirect light (a windowsill works).
- For water-only sprouting, many growers keep jars in the dark first, then “green up” in light; here, once roots are in the solution, light is your friend for leaf growth.
- Hands off: After roots reach the solution, you don’t need to mist. Keep the liquid level just below the screen. Short crop time means algae isn’t an issue before harvest.
- Daily check: Ensure the screen stays moist from below and seeds remain anchored. If the screen ever dries at the surface, add a splash to restore the ~¼” gap.
Green-up & harvest
- Green-up: If plants look pale, give them a half-day near a sunny window (not harsh direct midday sun) to let chlorophyll develop.
- Harvest height: Snip when tops are ~2–3 inches tall (variety dependent). Cut with clean scissors just above the screen.
Clean-up, storage & safety
- Storage: Lay harvest in a paper-towel-lined container with a lid; refrigerate. Microgreens keep up to about a week; eat sooner for the best texture.
- Safety checks:
- Keep the early stage cool, not warm/humid.
- If anything smells “off”, discard—don’t risk it.
- Reset: Rinse jar, screen, and ring thoroughly. If you used fabric mesh, note that it wears out—keep spare pieces.