
Proper watering is the cornerstone of healthy microgreens growth. Whether you’re a seasoned grower or just starting, understanding the best watering techniques for microgreens is essential to ensure vibrant, nutrient-rich crops.
From top watering and bottom watering methods to advanced self-watering systems, each approach has its unique advantages and considerations.
Watering correctly can help prevent common issues like mold, root rot, and underdevelopment, while ensuring your microgreens thrive throughout their growth stages.
In this guide, we’ll explore effective watering techniques, how to adjust water levels at different stages of growth, and the best practices for using automated watering systems. Get ready to optimize your watering routine and take your microgreens growing to the next level!
Understanding Microgreens’ Watering Needs
Microgreens, tiny versions of full-grown plants, have unique watering needs that differ from regular plants due to their small size, rapid growth, and delicate root systems. Unlike mature plants, microgreens have a shallow root system that requires consistent moisture but can quickly suffer from both under- and overwatering.
Microgreens like wheatgrass, radish, and sunflower typically need frequent watering to thrive. However, the exact amount can vary based on factors such as the type of microgreen, growing medium, and environmental conditions. For instance, wheatgrass is generally more water-hungry, while sunflower microgreens are slightly more tolerant of drier conditions. As they grow, their water requirements shift. Early on, when the seeds are germinating, the soil needs to be kept evenly moist but not waterlogged. Once germinated, microgreens need a steady supply of moisture, but the soil shouldn’t stay too soggy.
The environmental conditions play a big role in the watering frequency. In warmer, drier conditions, microgreens will need more frequent watering compared to cooler, more humid environments. Temperature and humidity levels, often fluctuating in indoor growing environments, need to be considered to ensure that the watering method remains effective throughout the growing process.
Top Watering: Pros and Cons
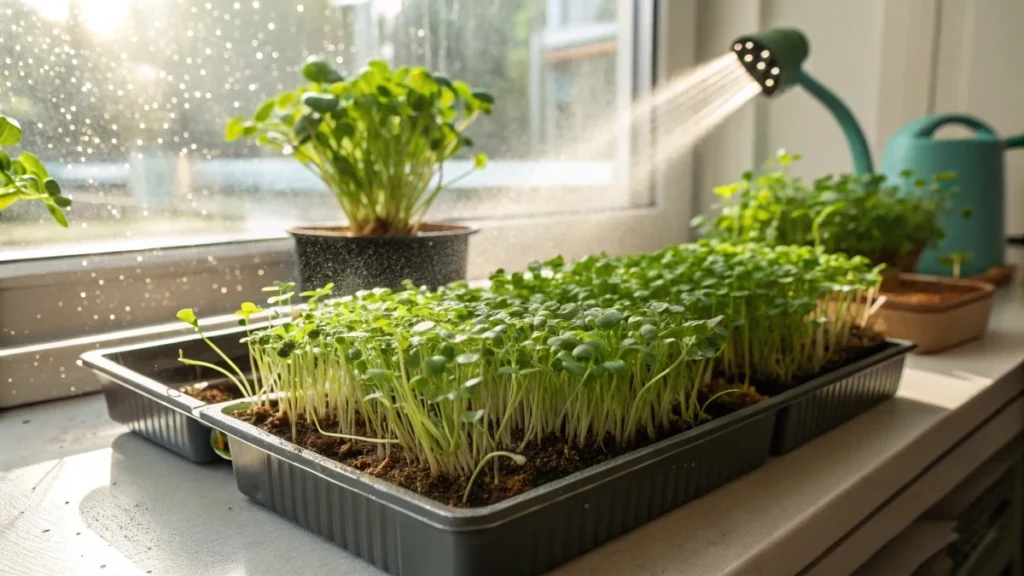
Top watering is a method where water is applied from above, either through misting or sprinkling. This method is easy to implement and is often used in smaller setups where you can manually control water distribution. When using top watering, the water is typically applied evenly across the surface of the soil, providing moisture directly to the plants.
Advantages of Top Watering
Top watering ensures even coverage across the surface, which is beneficial for uniform seed germination and initial growth. It’s quick to apply and doesn’t require complicated setups or automation systems, making it ideal for small-scale operations or beginners. Additionally, it allows you to visually monitor the amount of water being applied, ensuring the plants get just the right amount without overwatering.
Disadvantages of Top Watering
One of the biggest drawbacks of top watering is that it can lead to water accumulating on the leaves, which increases the risk of mold and fungal growth. Over time, this may lead to disease, particularly when microgreens are grown densely. Additionally, the top layer of the growing medium can dry out quickly, leading to uneven moisture distribution and the need for more frequent watering. The constant manual effort required for regular top watering can also be time-consuming in larger operations.
🌿 Recommended Microgreens Supplies |
Bottom Watering: A More Efficient Method
Bottom watering involves placing microgreens in a tray with a water reservoir at the bottom, allowing the water to be absorbed by the soil via capillary action. This method is more efficient in terms of water use and reduces the chances of overwatering or underwatering, providing a more balanced moisture level for the plants.
How Bottom Watering Works
Water is poured into a bottom tray, where it rises through the soil or growing medium by capillary action. Microgreens, with their shallow roots, absorb the moisture as needed, while the soil stays evenly moist without becoming waterlogged. Unlike top watering, bottom watering eliminates the risk of water sitting on the leaves, which can help prevent mold and fungal growth.
Benefits of Bottom Watering
One of the key benefits of bottom watering is its efficiency. Water is distributed evenly throughout the growing medium, allowing for consistent moisture. This method also reduces water waste since the water is absorbed as needed rather than being sprayed or poured on top and potentially evaporating. Additionally, bottom watering systems are typically low maintenance and are well-suited for larger operations or growers who want to reduce manual watering tasks. For those growing microgreens indoors or in a controlled environment, bottom watering can maintain moisture levels even during fluctuations in temperature and humidity.
Challenges of Bottom Watering
Although it is an efficient method, bottom watering requires a bit more setup. The trays need to be positioned correctly, and you may need to ensure proper drainage to prevent waterlogging the roots. For larger-scale growers, regular monitoring of the water level in the reservoir is necessary, although automation systems can significantly ease this process.
Self-Watering Systems: Automation for Efficiency
Self-watering systems take automation to the next level by providing consistent moisture to the plants without needing frequent manual intervention. These systems are often powered by bell siphons, wicking systems, or solenoid valves that control the flow of water to the microgreens.
How Self-Watering Systems Work
Self-watering systems rely on simple mechanics, like capillary action or siphoning, to deliver water automatically to microgreens. In a wicking system, water is drawn up through the growing medium via wicks or ropes, while in a bell siphon system, water is pumped to the top level of a tray and siphoned down to the lower trays, ensuring a cascading flow of water. Solenoid valves can also be used to control the timing and flow of water, ensuring that the plants are watered consistently without the need for manual monitoring.
Benefits of Self-Watering Systems
Self-watering systems are a huge time-saver, especially for larger-scale operations. They reduce the frequency of manual watering, ensuring a consistent water supply that supports optimal plant growth. These systems are also more efficient, minimizing water waste and preventing issues like mold or overwatering. Automated systems can be programmed to water the plants at specific intervals, freeing up time for growers to focus on other tasks.
Challenges of Self-Watering Systems
The main challenge with self-watering systems is the upfront cost and setup. There are components like pumps, hoses, and siphons that need to be purchased and installed. Additionally, these systems require regular maintenance to ensure that all components, such as the siphons or valves, are functioning properly. For some, the complexity of the setup may feel overwhelming, but for those managing large amounts of microgreens, the benefits far outweigh the effort.
🌿 Recommended Microgreens Supplies
These are the tools and supplies I personally recommend for growing healthy and flavorful microgreens at home.
As an Amazon Associate, I earn from qualifying purchases.
Adjusting Watering for Different Stages of Growth
Microgreens require different levels of moisture depending on their stage of growth. Properly adjusting watering techniques throughout the lifecycle of the microgreens ensures that they grow healthily and efficiently.
Germination Stage
During the germination stage, microgreens are particularly vulnerable to dehydration. The soil should be kept consistently moist, but not soaking wet. Top watering or light bottom watering is ideal at this stage to keep the soil surface moist without disturbing the seeds. Using a light mist or gentle watering ensures that the seeds don’t get washed away while still providing the necessary moisture.
Vegetative Stage
Once the microgreens have germinated and started growing, they enter the vegetative stage. At this point, the plants are actively photosynthesizing and growing, requiring more consistent moisture. Bottom watering becomes more effective during this stage since the roots are established and can absorb water from the bottom. It’s important to monitor the trays to avoid letting them dry out completely, as this can stunt growth or lead to wilting.
Harvest Stage
As microgreens reach the harvest stage, it’s crucial to adjust watering to avoid excess moisture, which could affect shelf life and quality. Reducing water slightly before harvesting allows the microgreens to dry out a bit, which can improve their texture and longevity after harvesting. Watering should be done with care to avoid oversaturation at this stage.
Water Quality and Its Impact on Microgreens
Water quality plays a crucial role in the health and growth of microgreens. Since microgreens are grown in such a small, delicate environment, even subtle variations in water quality can significantly affect their growth and yield.
Clean, Non-Chlorinated Water
Using clean, non-chlorinated water is essential for growing healthy microgreens. Chlorine, often found in tap water, can stunt the growth of microgreens and interfere with the nutrient absorption process. For optimal growth, microgreens need pure, unchlorinated water that allows them to absorb nutrients freely from the soil or growing medium.
If you’re using tap water, it’s a good idea to let the water sit for 24–48 hours before use to allow the chlorine to dissipate. Alternatively, using filtered or distilled water ensures that no chlorine or other chemicals affect your plants. For those growing in hydroponic setups, using a nutrient solution mixed with clean water ensures that the plants have access to the minerals they need without interference from harmful chemicals.
pH of Water
The pH level of the water is another important factor in microgreen growth. Most microgreens thrive in slightly acidic water, with a pH range of 5.5 to 6.5 being ideal. Water that is too acidic or too alkaline can cause nutrient lockout, where the plants cannot absorb certain nutrients, leading to poor growth. Regularly testing the pH of your water and adjusting it when necessary can help ensure your microgreens stay healthy and vibrant.
If the pH is too high, you can lower it by adding a pH-lowering solution like phosphoric acid. If it’s too low, you can raise the pH by adding pH-raising solutions like calcium carbonate or potassium bicarbonate. Maintaining the right pH ensures that the microgreens’ root systems can efficiently take up nutrients.
Nutrient Solutions for Microgreens
In systems like hydroponics or when using growing mediums like coconut coir, adding a nutrient solution can further support microgreen growth. While soil-based methods often provide sufficient nutrients, a hydroponic nutrient solution is designed to supply all the essential macro and micronutrients needed for microgreens to thrive.
It’s essential to use the right concentration of nutrients to avoid over-fertilizing, which can burn the delicate roots of microgreens. A general rule of thumb is to use a diluted solution for young microgreens, gradually increasing the concentration as they grow. Typically, the nutrient solution should be mixed according to the manufacturer’s instructions and adjusted based on the water’s conductivity (EC), which indicates the level of dissolved nutrients in the solution.
Troubleshooting Common Watering Issues
While watering is essential for the success of microgreens, improper watering can lead to a range of issues that affect plant health and yield. Understanding common watering issues and knowing how to troubleshoot them will help you keep your microgreens healthy and productive.
Overwatering: Signs and Solutions
Overwatering is one of the most common problems when growing microgreens, and it can lead to root rot, mold, and wilting. Signs of overwatering include yellowing leaves, a sour smell from the soil, and the growth of fungus or mold on the surface of the growing medium.
To prevent overwatering, it’s important to ensure that your watering system is not supplying more water than the microgreens need. Bottom watering systems can be particularly helpful in this regard, as they allow the water to be absorbed gradually, preventing excess moisture on the surface. Always check the water level in the reservoir and avoid letting water sit in trays for too long.
If you notice signs of overwatering, remove any standing water in the trays and let the growing medium dry out a bit. In cases of severe overwatering, it may be necessary to replace the growing medium to prevent further damage to the roots.
Underwatering: Signs and Solutions
Underwatering is another issue that can negatively impact microgreens. If your microgreens aren’t getting enough water, they may wilt, have dry, crispy leaves, or show stunted growth. When this happens, it’s essential to rehydrate the soil by watering the trays thoroughly.
Underwatering often occurs when watering schedules are inconsistent or if the water reservoir has run dry. For automatic systems, make sure the timers or sensors are functioning properly and that the water supply is sufficient. If you’re watering manually, be sure to check the moisture level of the soil daily, especially during hot weather.
Using a bottom watering system can help maintain consistent moisture levels, preventing both underwatering and overwatering. By providing water from below, you allow the plants to absorb moisture as needed, which helps maintain a balanced level of water throughout the growing process.
Clogged Watering Systems: Maintenance and Solutions
Watering systems, whether top or bottom watering, can sometimes become clogged, especially if they are not cleaned regularly. Clogged sprayers, siphons, or tubing can reduce the effectiveness of your watering system and may even cause uneven watering, leading to stressed plants.
To prevent clogging, regularly clean your system, especially the sprayers or emitters. If you notice any signs of clogging, such as uneven water distribution or reduced water flow, disconnect the affected part of the system and rinse it thoroughly. In cases where mineral buildup or algae is causing blockages, consider using a cleaning solution to dissolve any residue before reassembling the system.
When using bottom watering or siphon systems, make sure that the water drains properly through the trays. If the water isn’t draining efficiently, it may be a sign of clogged drainage holes or an improperly leveled tray. Ensure that trays are level to allow water to flow evenly across the growing medium.