
Growing fresh greens at home doesn’t need trays, soil, grow lights, or expensive equipment. If you have a jar, water, and seeds, you can grow microgreens right on your kitchen counter. This simple jar method is especially useful in winter, small apartments, dorms, or for anyone who wants fresh nutrition without the mess.
I tested this approach to see if microgreens could grow the same way as traditional alfalfa sprouts. The result was surprisingly good. With just a little daily care, you can harvest fresh, crunchy greens in under ten days.
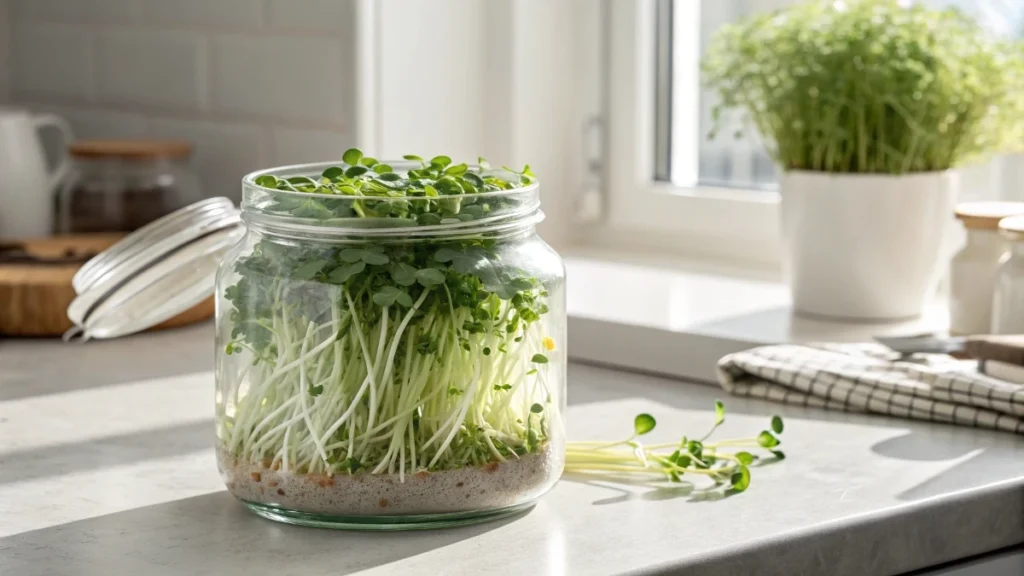
What Are Jar-Grown Microgreens?
Jar-grown microgreens are young edible greens grown without soil, using moisture and airflow instead. Unlike tray-grown microgreens that are cut at harvest, these grow more like sprouts but still develop tender stems and leaves.
This method works best for:
- Mild microgreen mixes
- Spicy mixes
- Alfalfa, cabbage, and similar seeds
What You Need to Grow Microgreens in a Jar
You don’t need special tools. Most items are already in your kitchen.
Supplies
- A clean jar (wide-mouth is easiest, but any jar works)
- A draining lid or DIY alternative:
- Sprouting lid
- Coffee filter + jar ring
- Cheesecloth
- Plastic lid with small holes
- Microgreen or sprouting seeds
- Fresh water
- A bowl or container to prop the jar at an angle
That’s all. No soil. No trays.
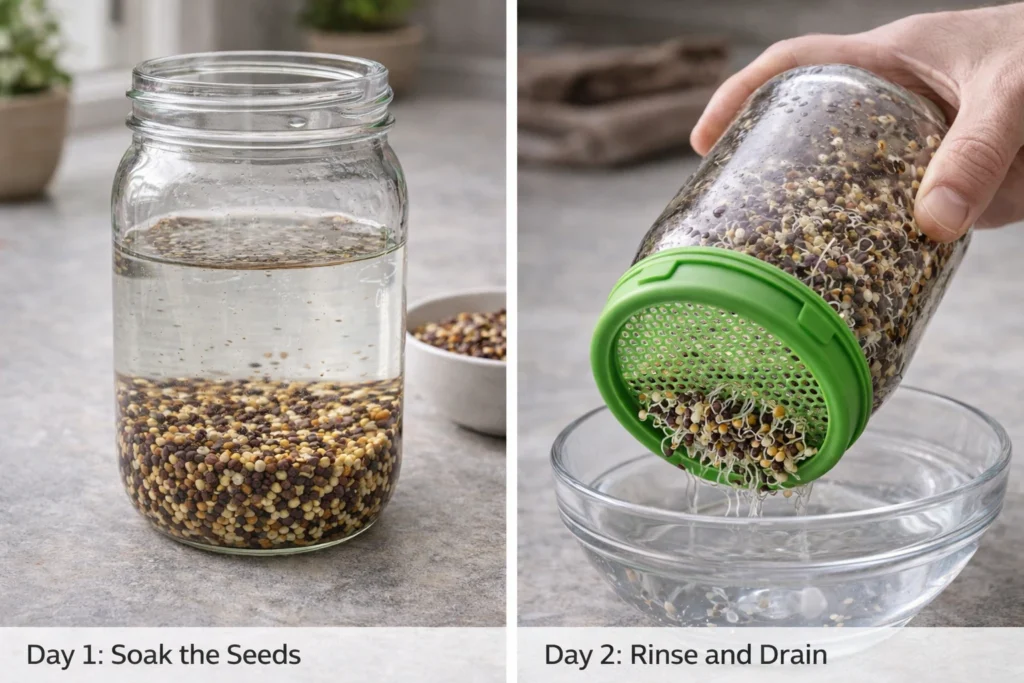
Day 1: Soak the Seeds
Start with about 1 tablespoon of seeds per jar. Larger seeds need less space because they grow taller.
Steps:
- Add seeds to the jar
- Fill with water until the seeds are fully covered
- Gently swirl to wet all seeds
- Let soak for 8 hours or overnight
Soaking activates germination and helps seeds swell evenly.
🌿 Recommended Microgreens Supplies |
Day 2: Drain and Rinse
By the next day, many seeds will already show tiny sprouts.
Steps:
- Drain all soaking water completely
- Rinse with fresh water
- Drain again
- Turn the jar upside down at a slight angle
Important:
Seeds should stay damp, not submerged. Standing water causes rot and mold.
Place the jar in a cool, dark, or low-light area to encourage upward growth.
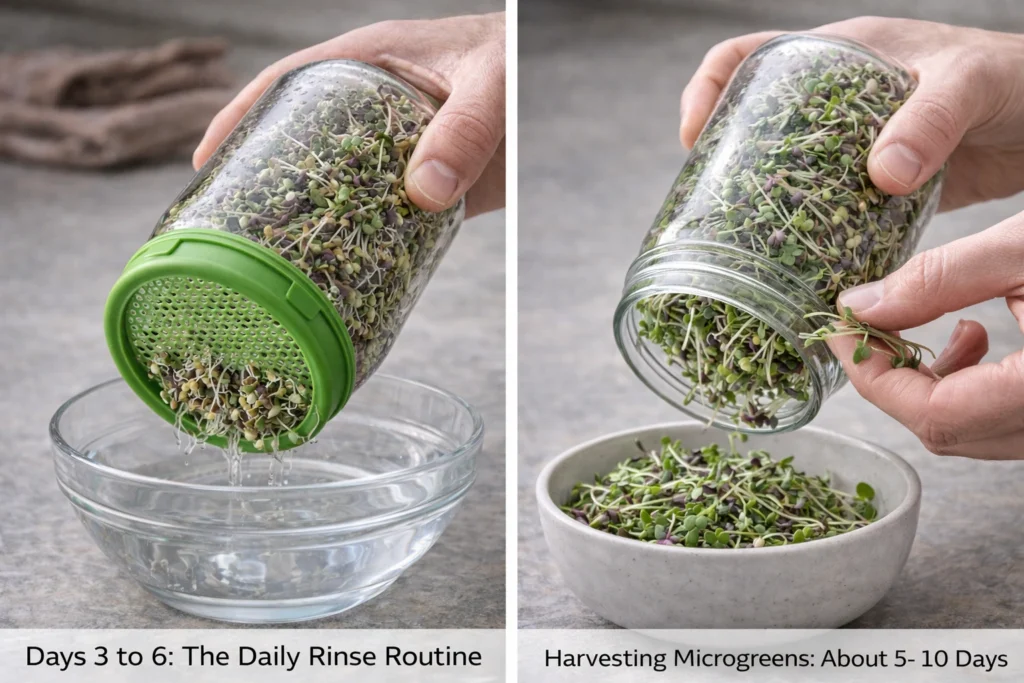
Days 3 to 6: Daily Rinse Routine
Each day, repeat the same simple process:
- Rinse with fresh water
- Drain thoroughly
- Prop the jar at an angle
- Keep in a darker location
This daily rinse prevents bacteria buildup and keeps the greens fresh and healthy.
When to Introduce Light
Once the microgreens reach the height you like:
- Move the jar to indirect light for 1–2 days
- This allows the leaves to turn green and develop a better flavor
Keeping them dark too long results in pale growth.
Harvest Time (5 to 10 Days)
Harvest time depends on the seed type:
- Mild mixes: about 5 days
- Spicy mixes: up to 10 days
You’ll notice:
- Dense, tangled growth
- Some seeds that never sprout (normal)
To harvest:
- Open the jar
- Pull out what you need
- Tear gently instead of cutting
How to Store Jar-Grown Microgreens
Once they reach the size you want:
- Rinse one final time
- Drain well
- Store in the refrigerator
Cold temperatures slow growth and keep them fresh longer. You can store them in the same jar or transfer them to a container for easy access.
Benefits of Growing Microgreens in a Jar
- No soil mess
- Extremely low cost
- Ideal for small spaces
- Perfect for winter growing
- Beginner-friendly
- Encourages daily fresh eating