
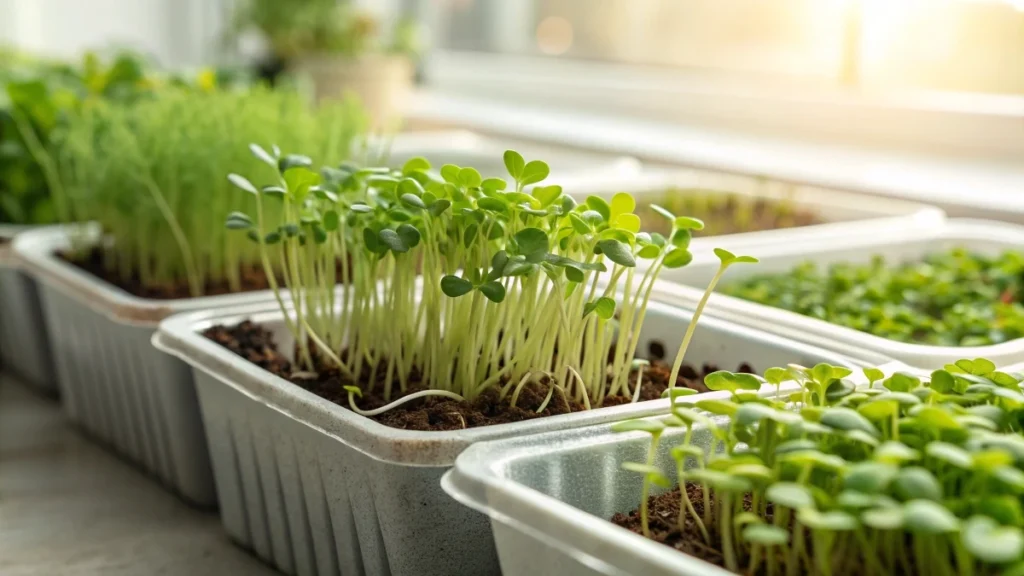
Microgreens are small, tender plants harvested shortly after germination, offering concentrated nutrition and vibrant flavor.
Despite their miniature size, a handful of microgreens can provide nutrients equivalent to a full-grown vegetable, making them an efficient way to boost your daily diet. Understanding the growth stages is crucial for anyone looking to grow microgreens at home or on a small commercial scale.
By following a structured growth timeline, you can ensure consistent quality, healthy crops, and longer shelf life.
Typically, most microgreens are ready for harvest within one to two weeks, although some slower-growing varieties may require up to three weeks.
| How to store microgreens in the fridge: Keep dry. How to store microgreens long-term: Freezinis g possible but may affect texture. Microgreens shelf life: Typically 5–7 days fresh; monitor moisture to prevent spoilage. | Timeline | Key Activities | Tips & Best Practices |
|---|---|---|---|
| Seed Selection & Preparation | 0–1 day | Choose seeds (Brassica: kale, broccoli, radish; Legumes: peas, sugar snaps). Soak larger seeds if needed. | Use untreated seeds. Avoid over-soaking. Evenly hydrate seeds without waterlogging. |
| Containers & Growing Medium | 0–1 day | Select shallow, well-draining trays with a non-draining tray underneath. Prepare soil, coco coir, or grow mat. | Shallow trays improve airflow and make harvesting easier. Coco coir is sustainable and mess-free for indoor growth. |
| Seeding | 0–1 day | Spread seeds evenly on medium. Press lightly or use weight for good seed-to-medium contact. | Grow one variety per tray. Avoid overcrowding (mold risk) or under-seeding (weak growth). |
| Germination | 1–6 days | Seeds sprout; roots begin establishing. Keep medium moist. Stack trays lightly with optional weight. | Fast growers (kale, radish) 1–2 days; peas 4–6 days; parsley/carrot up to 21 days. Avoid disturbing trays; maintain even moisture. |
| Emergence & Early Growth | 2–7 days | Cotyledons appear; seedlings begin photosynthesis. Introduce light. | Position lights 1–2 inches above trays. Maintain moisture with bottom watering. Prevent leggy stems. |
| Growth to Harvest | 3–14 days (varies by variety) | Leaves and stems develop fully. Monitor water, light, and airflow. | Use consistent bottom watering. Lights stimulate chlorophyll production for vibrant green leaves. |
| Harvesting | 5–21 days | Cut microgreens just above medium with a sharp knife. Avoid pinching stems. | Harvest when first true leaves appear. Portion harvesting possible for continued growth. |
| Storage & Shelf Life | 0–7 days (refrigerated) | Store in dry, airtight container. Avoid washing immediately. | How to store microgreens in fridge: Keep dry. How to store microgreens longterm: Freezing possible but may affect texture. Microgreens shelf life: Typically 5–7 days fresh; monitor moisture to prevent spoilage. |
🌿 Recommended Microgreens Supplies |
Stage 1: Seed Selection and Preparation
Choosing the right seeds is the foundation of a successful microgreens crop. The type of seed influences not only flavor and texture but also the growth rate and nutritional content. Seeds from the Brassica family, such as kale, broccoli, radish, and kohlrabi, are popular for their fast germination and rich nutrients. Legume seeds like peas and sugar snaps are slightly larger, take a bit longer to sprout, and tend to produce thicker stems.
High-quality, untreated seeds are essential to prevent disease and ensure healthy growth. Some larger seeds benefit from a short soak in water for 8 to 12 hours before planting, which softens the seed coat and accelerates germination. However, soaking is unnecessary for smaller seeds like broccoli or radish. Ensuring even hydration without over-saturation is critical, as excessive water can cause seeds to rot or encourage mold during the early germination phase. By paying careful attention to seed selection and preparation, growers can set the stage for robust, uniform microgreens that reach maturity efficiently.
Stage 2: Choosing Containers and Growing Medium
The container and growing medium play a significant role in the quality and success of microgreens. Shallow containers, typically two to three inches deep, allow for better airflow, which reduces the risk of mold and facilitates easier harvesting. Using containers with drainage holes prevents water accumulation at the bottom, helping maintain healthy root systems. Placing a non-draining tray underneath to catch excess water ensures a clean growing area while allowing the plants to draw water as needed.
Growing medium options include soil, coco coir, or reusable mats. Soil provides a nutrient-rich environment and produces thick, healthy stems, making it ideal for high-quality home or commercial crops. Coco coir is a sustainable and easy-to-handle medium that supports rapid growth while minimizing mess, making it perfect for home kitchens or indoor setups. Grow mats or other inert mediums can be used for small-scale or experimental growth, but may result in slightly slower development and thinner plants. Using the right combination of container and medium creates an environment that supports uniform germination, strong roots, and optimal microgreens growth.
Stage 3: Seeding
Seeding is more than scattering seeds on the medium; it sets the stage for healthy, uniform growth. Seeds should be spread evenly across the surface to ensure each plant has adequate space while still forming a canopy that supports consistent warmth and moisture retention. Overcrowding can lead to wet crops, increase mold risk, and reduce airflow between stems. Under-seeding, on the other hand, can slow growth and produce weaker plants that lack the protective canopy needed for optimal development.
Growing one variety per tray is recommended. Different microgreens varieties have unique growth patterns and light requirements, so mixing seeds can complicate timing and reduce overall crop quality. Pressing seeds gently into the medium or using a lightweight cover on top helps ensure good contact with the soil or coir, which improves germination success. Proper seeding technique contributes to uniform emergence and sets the stage for healthy, vigorous microgreens ready to move to the next growth stage.
🌿 Recommended Microgreens Supplies |
Stage 4: Germination
Germination marks the first visible phase of microgreens development when seeds sprout, and roots begin establishing themselves in the growing medium. The time to germination varies depending on the seed type. Fast-growing Brassica seeds may sprout within one to two days, while larger legume seeds like peas can take four to six days. Slower varieties, such as parsley or carrot, may require up to three weeks. Maintaining consistent moisture without overwatering is critical during this stage, as the roots are delicate and overly wet conditions can lead to rot or mold.
Stacking trays lightly or placing a small weight on the top tray encourages roots to establish more firmly and ensures the seedlings grow upright. Avoid disturbing trays during germination to minimize exposure to pathogens and prevent stress on the seedlings. The germination stage requires patience, careful observation, and a controlled environment to produce strong, uniform sprouts that will develop into healthy microgreens.
Stage 5: Emergence and Early Growth
Once the first sprouts appear, microgreens enter the emergence stage. Cotyledons, the first set of leaves, become visible, and the seedlings begin photosynthesis, producing energy for further growth. Light exposure at this stage is essential. Natural light may suffice, but artificial full-spectrum grow lights placed close to the plants produce consistent, compact growth and prevent leggy stems. Ideally, lights are positioned one to two inches above the trays, with adjustments as the microgreens grow taller.
This stage also requires careful monitoring of moisture. Microgreens draw water efficiently through their roots, so regular bottom watering is recommended to prevent over-saturation while maintaining adequate hydration. Growth is rapid during this period, with seedlings developing strong stems and vibrant green leaves. Proper care during emergence ensures microgreens develop evenly, with robust stems and maximum nutritional value.
Stage 6: Growth to Harvest
During the growth stage, microgreens develop their stems and leaves rapidly, moving from tiny sprouts to fully recognizable mini-plants. Most varieties reach harvestable size within 3 to 10 days after emergence, though some slower-growing types like parsley or carrot may take up to three weeks. This stage is crucial because proper care ensures the plants develop strong stems, vibrant green leaves, and optimal nutrient content.
Watering remains a key factor. Bottom watering is generally preferred, allowing the plants to absorb water efficiently through the roots without over-saturating the medium. Consistent moisture encourages uniform growth and prevents wilting or patchy development. Microgreens do not require intense light at this stage, but a steady light source ensures compact growth and stimulates chlorophyll production, which turns the leaves a deep green and enhances their nutritional profile. Monitoring growth daily allows you to identify any potential issues early, such as uneven hydration or weak seedlings, before they impact the final harvest.
Stage 7: Harvesting
Harvesting microgreens at the right time is essential to maximize flavor, texture, and nutrition. The ideal harvest point is when the first true leaves appear, before the plants become leggy. Fast-growing greens like kale, arugula, and radish are usually ready in under a week, while slower-growing varieties like carrots or parsley may require up to three weeks.
Use a sharp knife to cut just above the growing medium, ensuring a clean cut that prevents stem damage and minimizes the risk of rot. Avoid scissors, which can pinch stems and reduce shelf life. Microgreens can be harvested all at once for immediate use, or in portions to allow remaining plants to continue growing. Proper harvesting techniques contribute to higher-quality crops and ensure the greens remain visually appealing and nutritionally dense.
Stage 8: Storage and Shelf Life
Once harvested, microgreens require careful handling to maintain freshness. To extend their usable period, store microgreens in the refrigerator in a dry, airtight container. Avoid washing them immediately, as excess moisture can accelerate spoilage. When stored correctly, most microgreens remain fresh for 5 to 7 days. Some hardier varieties may last slightly longer, but quality declines rapidly if moisture accumulates.
For longer-term storage, freezing is an option, although it may change the texture and reduce visual appeal. Blanching is not necessary for short-term preservation. Proper storage practices help maintain crispness, vibrant color, and nutritional content, allowing you to enjoy your microgreens for as long as possible without waste. Understanding shelf life and storage techniques is as important as the growth stages themselves, ensuring that every harvest reaches your plate in peak condition.